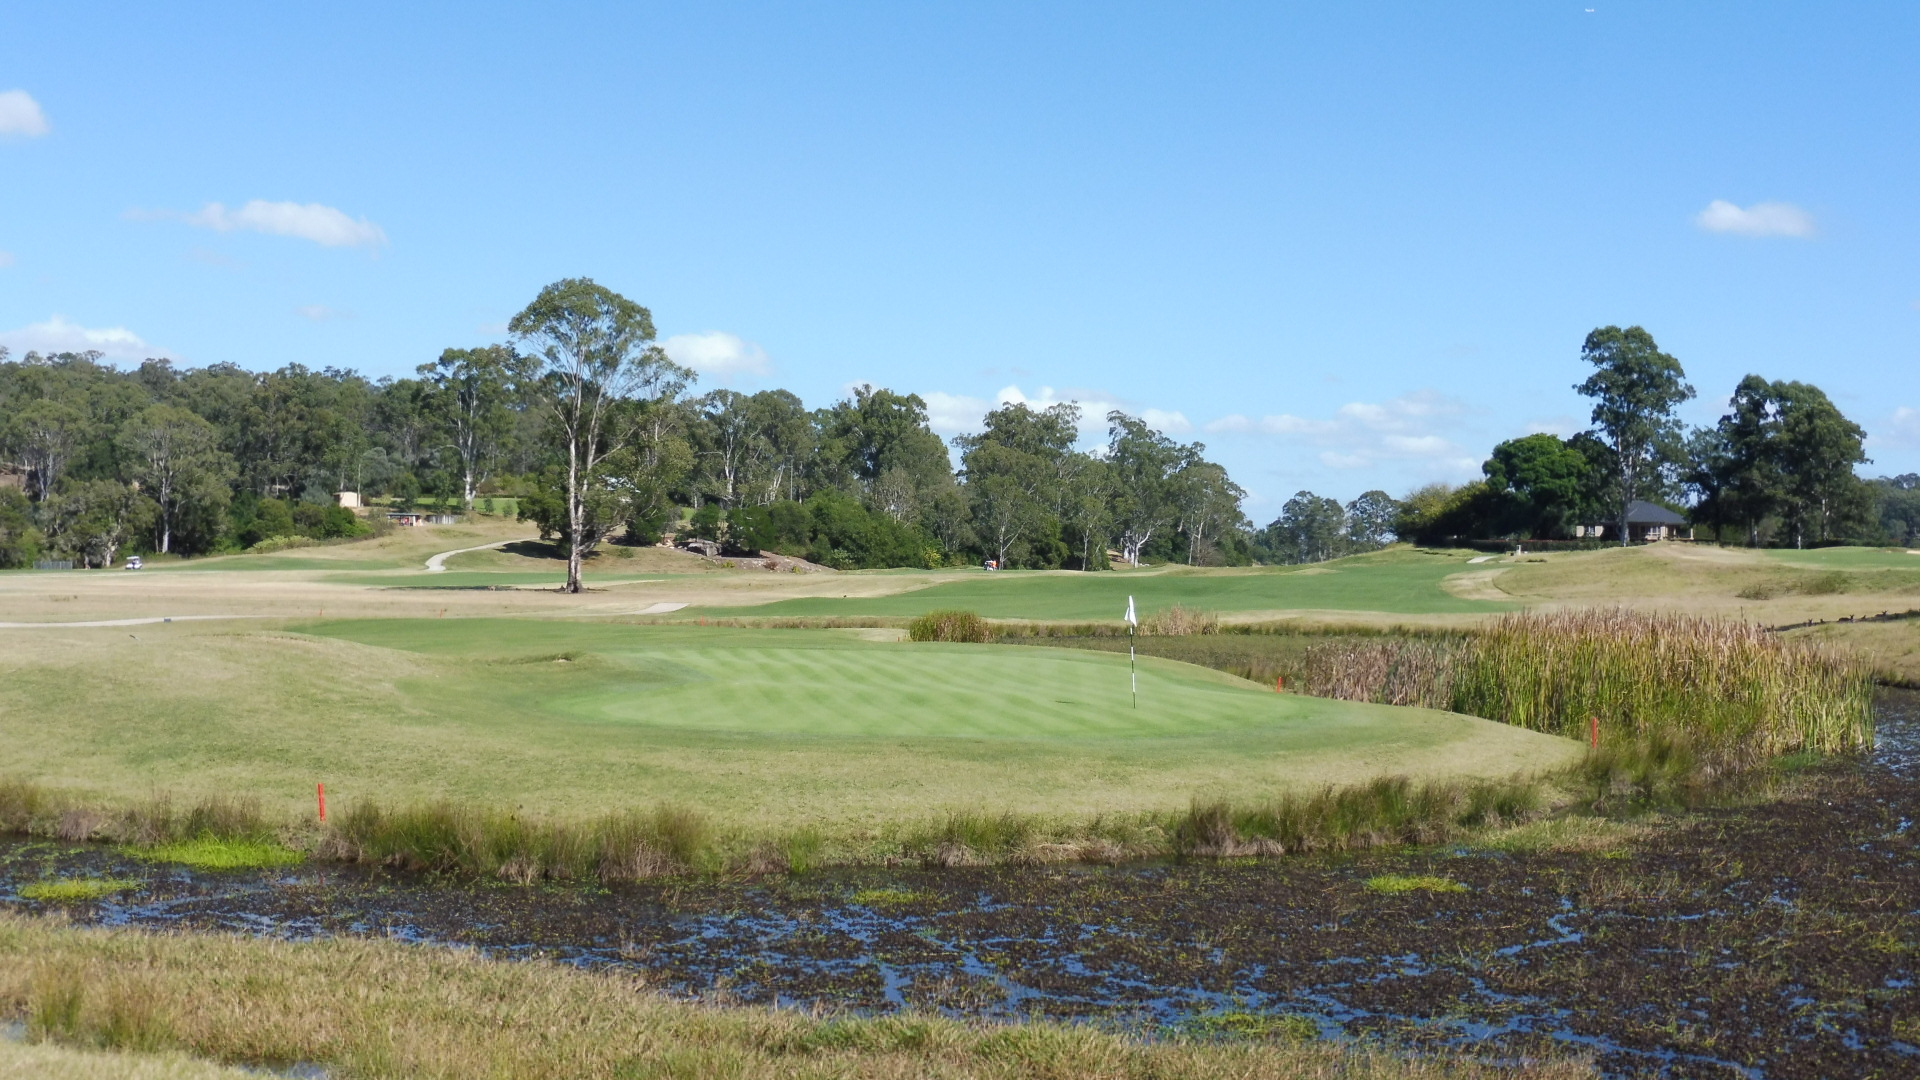
Location: Cattai, NSW
Established: 2014
Architect: Bob Harrison
First Played: 25th April 2014
Last Played: 25th April 2014
Magazine Ratings

64 (2020)

57 (2020)

41 (2021)
Heading out to the wild west of Sydney with some work colleagues, to play a new entry into the Top 100 Golf list, was the fairly new Bungool course at Riverside Oaks Golf Resort. Completed in 2014, this made history becoming Sydney’s first 36 hole club. Chances are most players would have already played a course from the same designer, Bob Harrison, at some stage in their life, with numerous designs along the eastern states.
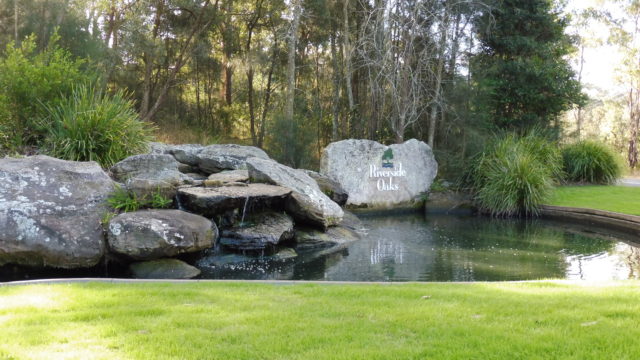
Entrance to Riverside Oaks Golf Resort
The resort opened in the late 1980’s with its original course, Gungurra. Since that time, the club has held many championship events and was at its peak, when Greg Norman was dominating the sport.
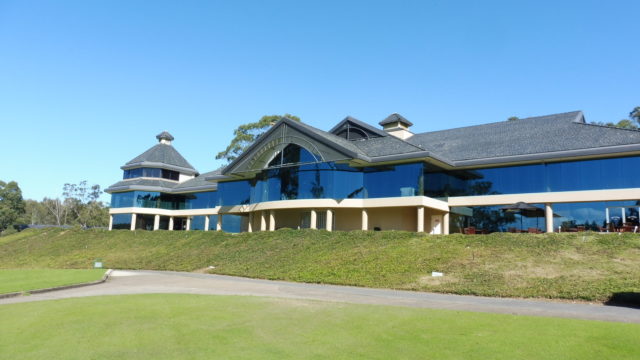
Clubhouse at Riverside Oaks Golf Resort
The clubhouse is planned to undergo a major renovation, which is now a little outdated. It is quite large however with all the necessary facilities, including a spa and sauna. We didn’t manage to get our timing quite right, missing out on lunch. The food looked to be appetising.
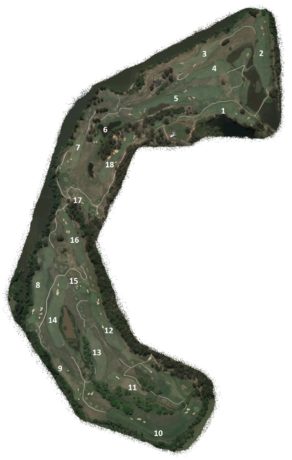
Riverside Oaks Golf Resort Bungool Course Map
The course meanders along the Hawkesbury river, along holes 3, 7, 8 and 9, taking in some great rural scenery. If it wasn’t for powerboats tearing up and down the river, it would be an extremely relaxing environment.

Scorecard for Riverside Oaks Golf Resort Bungool Course
Managing to enter the local competition of the day, play was from the blue tees.
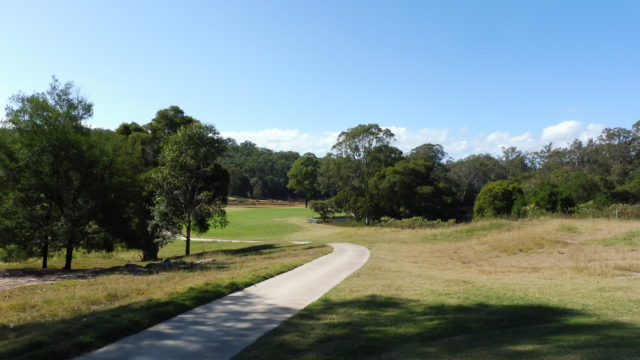
Hole 1 – 336 meter par 4
From the outset, you see this course is about risk and reward. Playing from an elevated tee, the hole doglegs to the right around a water hazard. There is ample on the fairway to the left, but also an option to carry the hazard (and large tree) to shorten the hole dramatically.
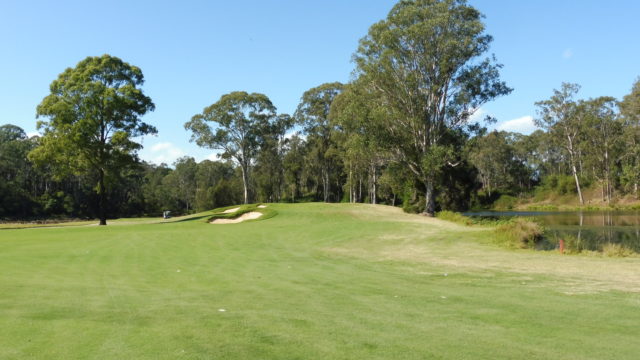
The narrow 1st green
Depending on the route taken, will determine the shot left to this raised green. Traps to the left and water to the right requires an accurate shot. The first thing we noticed was how grainy the greens were. They looked quite nice and smooth, but ran much slower than anticipated. Great hole to start the round, allowing those willing to take on the risk, with a short approach. But also leaving safe play with plenty of room to the left. This reverses on the second, requiring a more accurate shot into the narrow green.
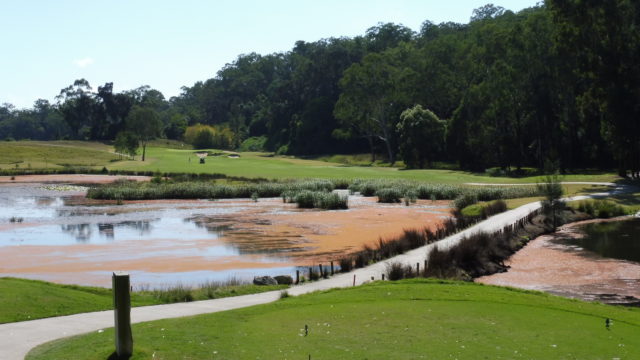
Hole 2 – 388 meter par 4 hardest hole
For some, the tee shot will be quite intimidating with a carry over water, before reaching the wide fairway. There is danger down either side with water still in play, but finding the ideal line from the tee will allow an easier approach.

Approach from the 2nd fairway
Bunkers are in play for shots from the right and a tree potentially obstructing those from the left. The green has some subtle undulations changes, but it has generous room around the green, with quite short grass, allowing for a variety of shots. Ranked as the hardest hole, accuracy will be the key. Nice hole on the eye, however a little unforgiving for shorter hitters, for the carry from the tee.
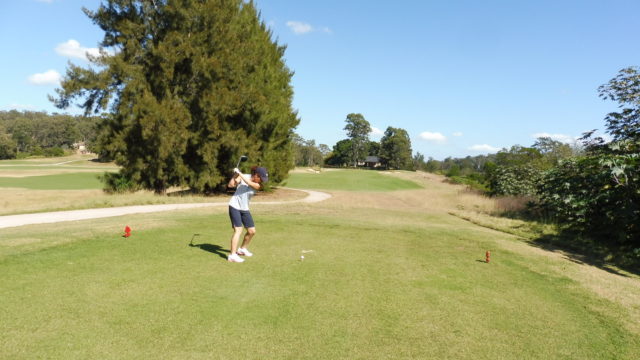
Hole 3 – 300 meter par 4
The first of five short par 4 holes on the course, it is also the first to give views of the river. This will tempt the player to gain distance for a short approach, but bring in the risks also. Being slightly off line to the right may see the ball run down the slope, whilst strategically placed bunkers could also come into play.
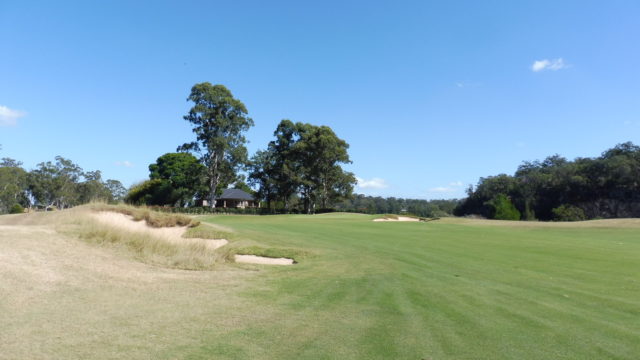
Open 3rd green
There is some variance in the fairway, with a few undulations found either side. These have been used wisely to hide certain aspects of either the fairway, or green. The hole looks simple, yet can quite easily catch out those being too greedy.
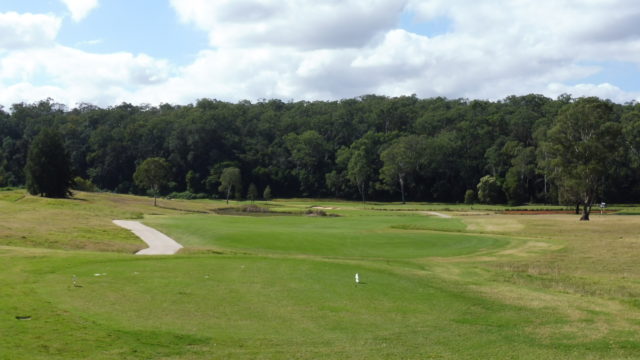
Hole 4 – 330 meter par 4
Playing from a slightly elevated tee to a wide fairway, caution is required. A water hazard dissects the fairway, with long hitters quite capable of reaching. It was here that we had our first true experience of how penal the second cut of rough could be. Anything running into these areas, will take nothing short of a miracle to find.
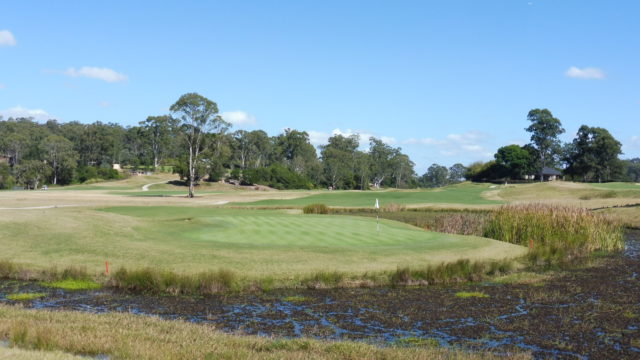
Looking back at the 4th hole
Finding the right side of the fairway, will leave the best line for an approach to the green, reducing the amount of water to be carried. A bunker has been thrown in for good measure, to the right of the putting surface. This will be sure to test the nerves of some players with water being on the other side of the green. Good testing hole, yet fair to all levels of player.
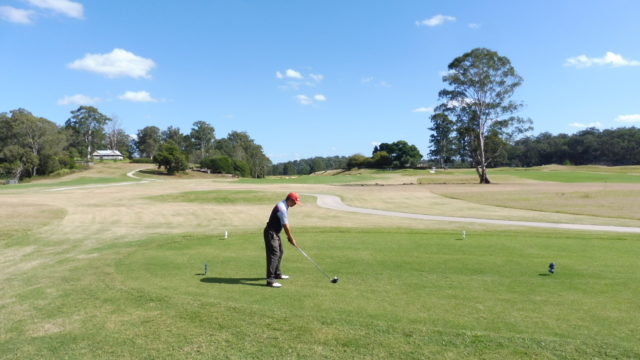
Hole 5 – 467 meter par 5 hardest par 5
Coming to the first long hole of the day, there is ample room on the wide fairway for the tee shot, although longer hitters will reach bunkers to the left.
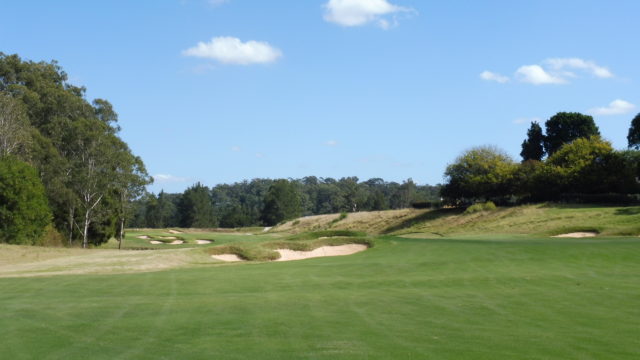
Approach from the 5th fairway
It is from the second shot that this hole gets truly interesting. For some the trouble is hidden still due to the fairway falling away, but it is still visible that the fairway narrows significantly, with the trees out left and a large bank on the right.
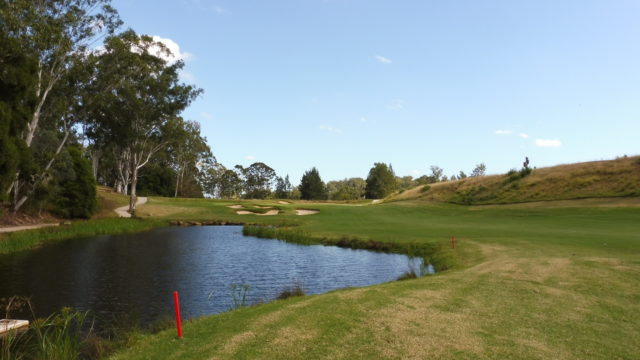
View to the 5th green
Only getting closer to the end of the plateau that you see water taking up almost half of the fairway for where most peoples second shot will land. Big decision on whether to layup to the wider section of the fairway, take on the risk for an accurate shot or try and carry all the trouble, where a large cluster of bunkers await. There is a large area to the right of the green for a miss, but leaves a shot to a green sloping away. Another hole where you are made to think, especially with the second shot.
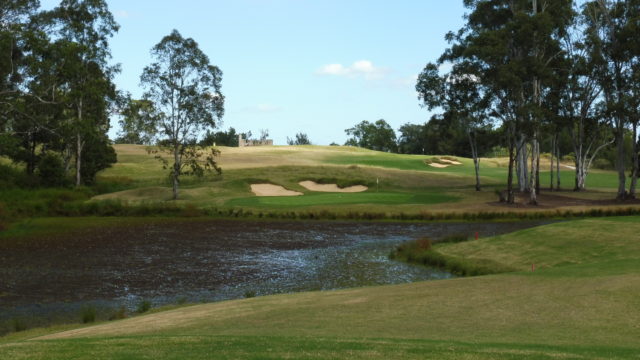
Hole 6 – 142 meter par 3
Coming to the longest and hardest par 3 on the course, the tee shot requires a carry over water to reach the green. Sitting nestled between trees and bunkers at the rear, the putting surface is still ample to land most balls. The one thing to note is the amount of algae or weed in some of the water bodies. This certainly detracts from the view of some spectacular holes.
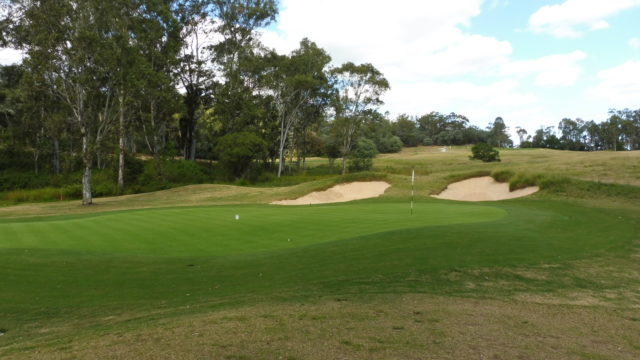
Large sloping 6th green
A good aspect of this green is the strong sloping from rear to front. This assists a lot of players in getting the ball to stop on the green, especially those not hitting so high. Not so good if you land in the wrong portion however as it will take a strong putt, in particular up to the back tier.
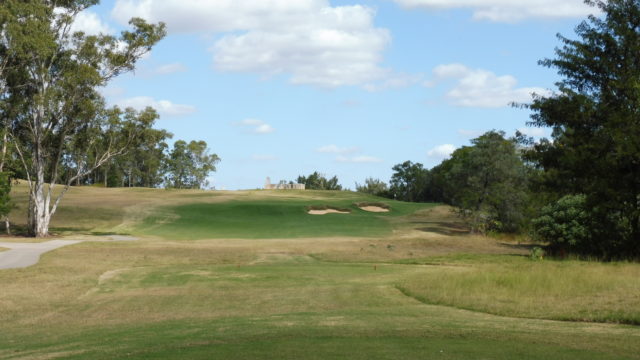
Hole 7 – 297 meter par 4
Another of the shorter par 4 holes, with a slight dog leg to the right. The fairway rises up the slope, until it reaches a plateau, with two bunkers built into its face. The decision is laying up, leaving a blind shot, or trying to reach the upper portion.
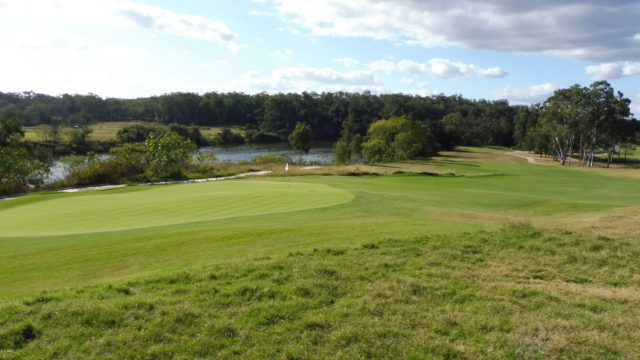
Looking back from the 7th green
There is a few gentle slopes in the green to contend with, predominantly going from left to right. A good challenging hole, which can be played in so many different ways, dependent on conditions.
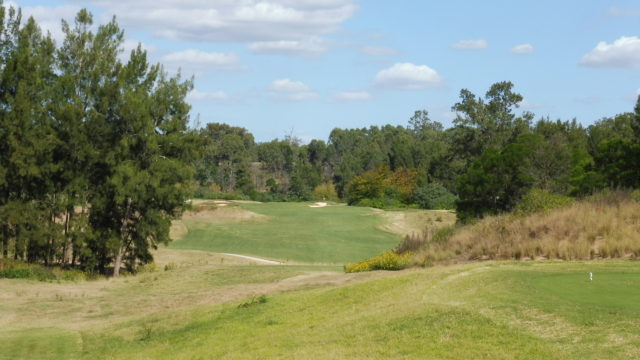
Hole 8 – 471 meter par 5
Oddly we have the longest par 5, which also rates as the easiest, which is something we don’t see too often. The tee shot looks a lot more challenging than it actually is, although a decent carry is still required to reach the fairway. Mounds, trees and the narrowing fairway towards the top of the hill, make the target look quite small. The fairway at lower section of the gully, which is the landing area for a majority of players, is actually quite wide
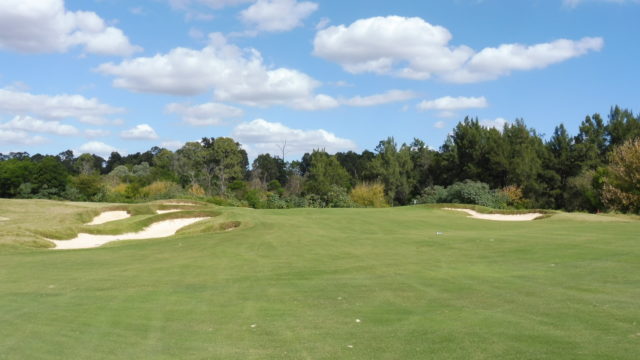
Blind shot from the 8th fairway
There are a few undulations on the way to the green, but it is the final shot in which is the hardest. The green sits below a rise in the fairway, with only the top of the flag visible. Great use of deceptive techniques in the design, makes this hole more difficult than it actually is.

Hole 9 – 307 meter par 4
Finishing the front with another short par 4, but this one is much tighter than the previous encounters. The fairway is quite narrow and a lot more undulating, with mounds and hollows making it feel like a roller coaster. Bunkers run down the left, whilst unseen water is out to the right.
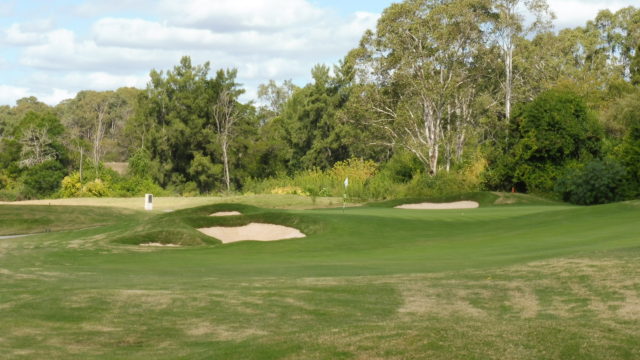
View of the 9th green
The fairway narrows dramatically near the green, although one run off area to the left is found short. The putting surface slopes strongly to the left, away from the water. Not very often you see this being the case. This hole is far from visually stunning, and the mounds and hollows seem very artificial. More so due to the course being so far inland. Certainly not the strongest hole to be found on the Bungool course.
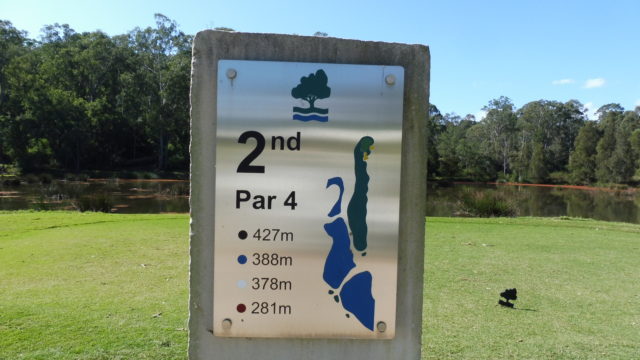

Hole marker and pin flag
One thing I love to see at courses, is having a map of the hole near the tee. This makes the experience a bit easier, especially when playing for the first time.
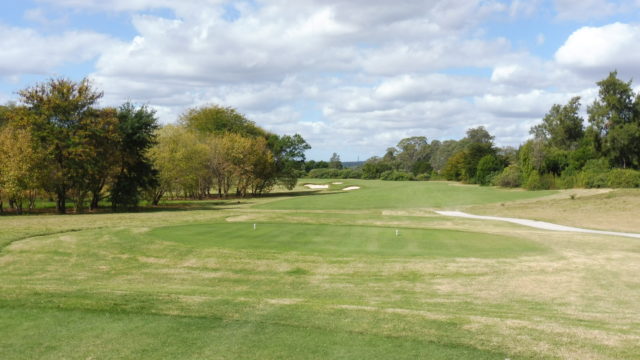
Hole 10 – 470 meter par 5
Starting the back nine is a medium length par 5. Having quite a large turn to the right, there is bunkers in range to the left. Trying to cut any part of this corner, especially from the tee should cautioned, due the heavy secondary rough. Water runs the entire length to the right.
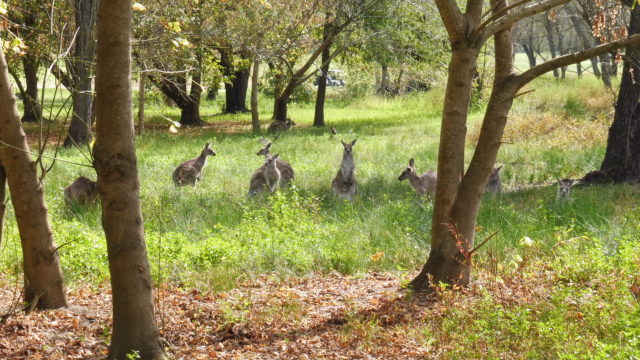
Kangaroos besides the 10th
I lost count of how many kangaroos were on or near the course, but it was well into the hundreds. Never seen this many at any other course, but luckily they do not cause too much damage. Although I did land in on of their footprints with the fairway bunkers on the 10th.
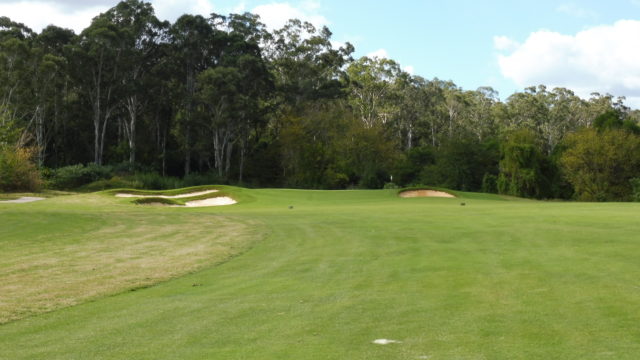
Wide 10th fairway
The green, which is raised, hides most of the surface available. Traps are located short on both sides. One criticism of the green complex, is the slopes away lead straight into the secondary rough. Quite penal, as there should be a couple of meters of first cut, ensuring balls are not lost if slightly long.
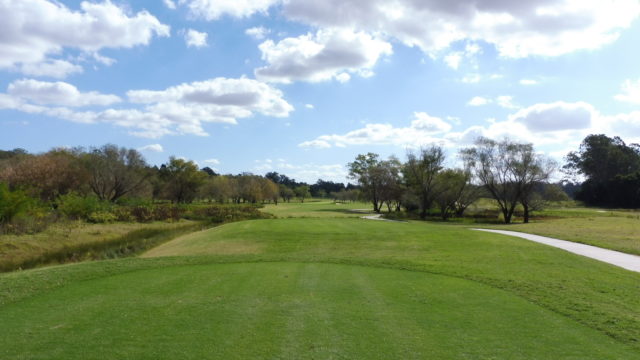
Hole 11 – 259 meter par 4
Although the easiest hole and shortest par 4 on the Bungool course, this can quite easily turn to tragedy. For most people, a drive reaching the green is what is envisioned, but not hitting accurately will be punished. A small water carry is required from the tee, which also runs down the left side. Trees to the right, hide a wide fairway, but also hide some longer grass, which will swallow balls, never to be seen again.
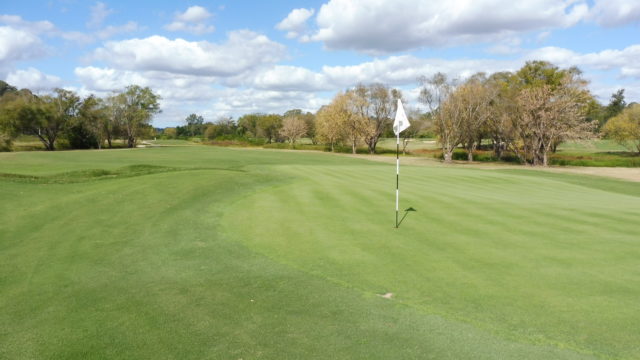
Looking back from the 11th green
The green is quite narrow, with a bunker to its right. Shots coming in from this side will be difficult as the green also slopes away to the left. This is a simple hole, but extremely effective in its design. Although there is plenty of room to land the tee shot, taking the wrong line will leave a very difficult approach.
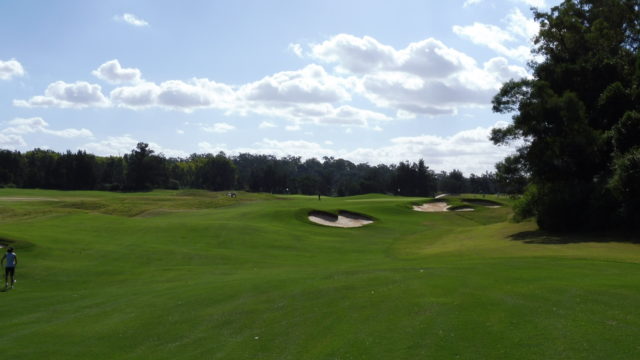
Hole 12 – 364 meter par 4
Another strong designed hole was the medium length par 4 twelfth. With a slight dogleg to the right, most of the hole is blind by a slight rise in the fairway. A decent sized landing area is available, before leading down to a large gully leading up to the hole.
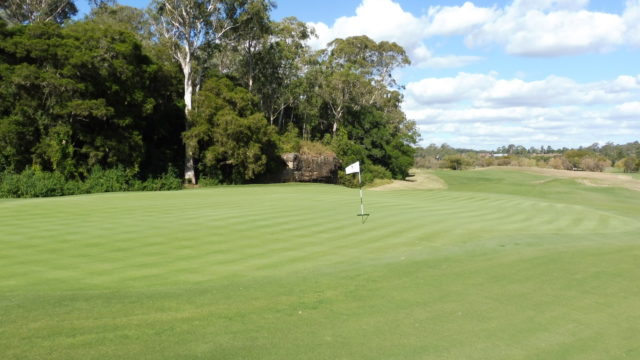
View of the 12th green
There is significant undulations and mounds, leading into the green, which is heavily bunkered on the right. A long green with slight tier change, this can be a challenging hole. The gully and slopes are sure to play havoc with some, especially if finding yourself out of position off the tee. This hole feels purely natural in its environment and is a joy to play.
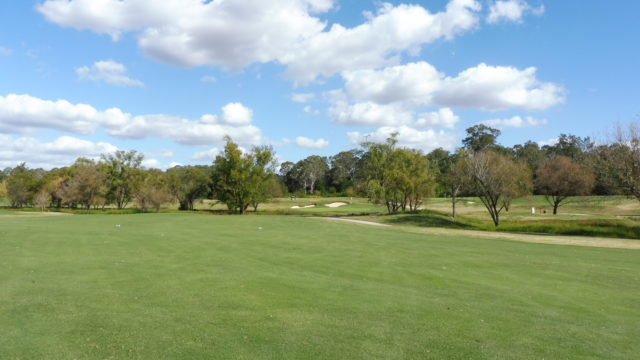
Hole 13 – 370 meter par 4
In stark contrast to the previous hole, this dogleg right, has a fairly flat fairway, although slightly sloping towards the water hazard to the right. There is a very wide fairway to find, but again, taking the wrong line will cause issues with the approach.

Carry a small hazard to the 13th green
There is a small creek found just short of the 13th green, with trees bordering either side of the opening. Although much shorter for the approach, playing too far right on the fairway, will lead to trees blocking the approach. Too far left leaves a much longer shot. The green is quite scenic, with bunkers covering the rear portion. Again simple design elements lead to quite a playable hole for all levels, we had a beginner in the group who we told to lay up short, before making the cross over water. The condition of the green was the worst on the course, with a few bare patches found in the middle, causing a bumpy ride for the ball.
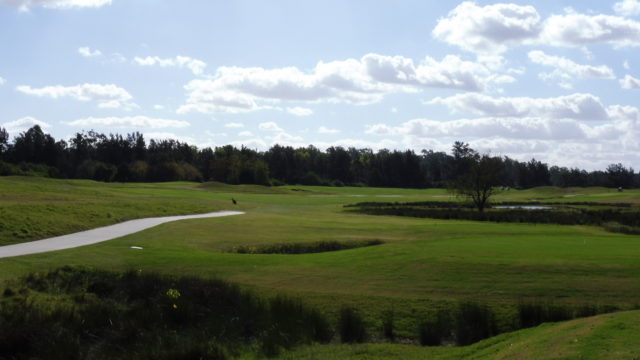
Hole 14 – 390 meter par 4
A classic designed dogleg to the left, this longest par 4 has a carry over water. The more taken on with the carry, the higher the risk. Although heavy rough is found out to the left, which will lead to a lost ball. I understand the safety aspects of this, separating the 9th and 14th fairway, but this was probably too penal in its design.

Approach from the 14th fairway
The green sits slightly elevated with two large bunkers protecting the front and left. There is ample room to the right for the ball to miss, although a few hollows maybe found.
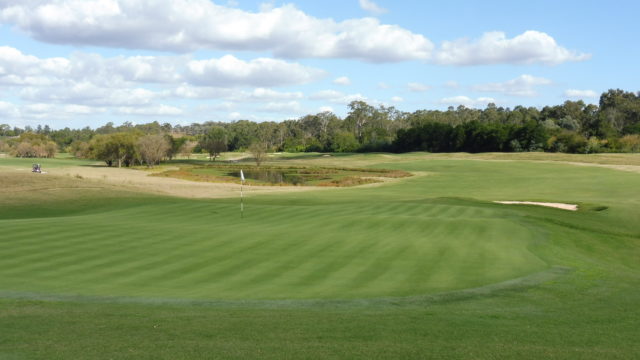
Looking back from the 14th green
The green has a few subtle tiers and gentle slopes to contend with. Hard to criticise those classic design elements found here, they never fail to please. The hole is good to play and fair to all levels, although the heavy rough left of the fairway is overly penal in my opinion.
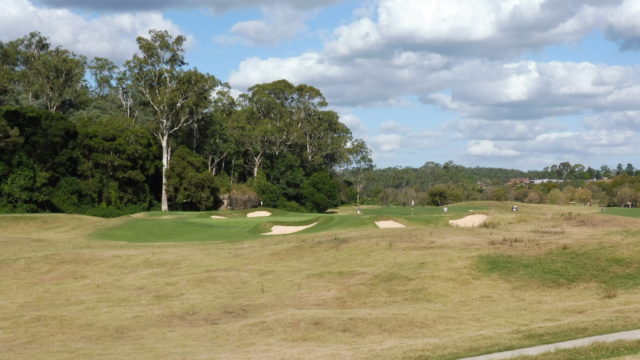
Hole 15 – 136 meter par 3
Next up is the shortest and easiest par 3. From an elevated tee, the land falls away, before rising again at the green complex. The putting surface is partially hidden from the center to the right.
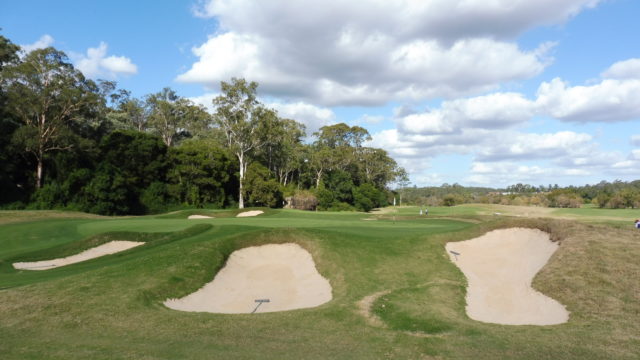
Finger bunkers in the 15th green
The three skinny bunkers help deceive the player from the tee, hiding part of the green surface. This is also the side not to miss, with heavy rough found in most of the area. To the left there is a clear area, which the ball can be easily played back onto the green. Nice hole to play which will vary greatly depending on pin position.
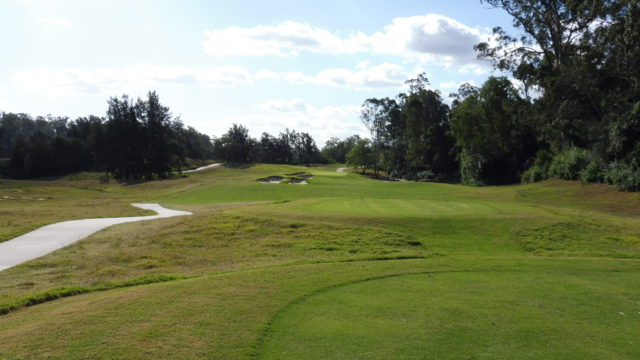
Hole 16 – 291 meter par 4
A short par four leads our run back to the clubhouse, well actually restaurant, as the clubhouse is a little drive back down the hill. The hole looks simple, yet elegant from the tee. Some large mounds, with bunkering incorporated, are round to the left, which are at the longer drivers distance. To the right of this is some lower land, leading into heavy tree area, but with a better angle to the green.
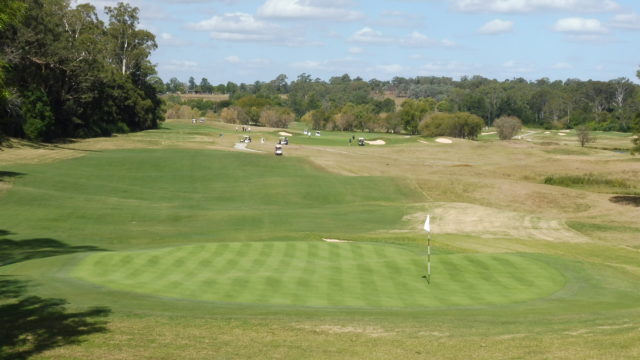
Last look back from 16th green
The green sits elevated, but has some significant slopes and undulations to deal with, serving as one of the holes biggest defence. One of my favourite holes of the day. Looks pretty from the tee. Incorporates nice changes in undulation and mounding. Offers risk and reward from the tee and has some distinct lines, which will give advantage to those bold enough to take them.
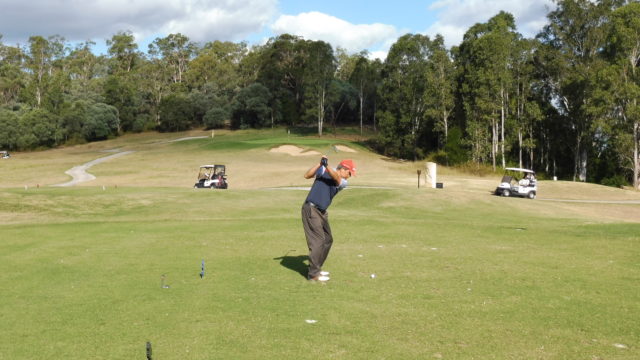
Hole 17 – 138 meter par 3
The penultimate hole is another short-medium length hole, playing up a hill. Probably putting it more into the medium length due to the slope. There are two bunkers, one at the front, the other right. Trees are also to the right, which is a place to avoid at all costs, although it is marked as a hazard.
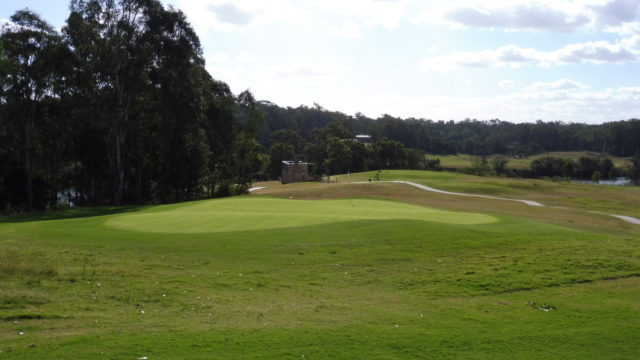
Varying tiers on the 17th green
Missing to the left is advisable, if you plan to miss, leaving a chip up a slope to reach the green. The putting surface here has a couple of subtle tiers, but is quite wide at the front side. A simple hole, when compared to some of the others on the course, but still quite tricky.
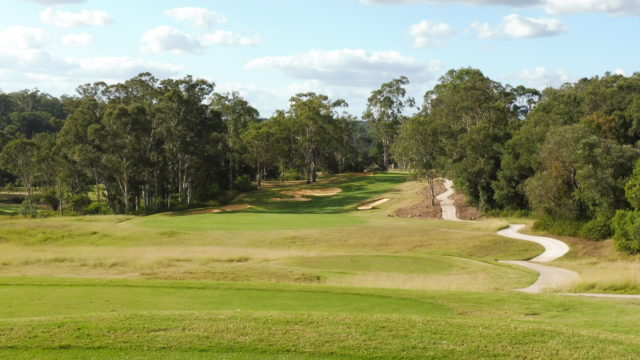
Hole 18 – 352 meter par 4
A medium length hole is found to finish the day, having a dogleg to the right. Playing from such an elevated tee, longer hitters will be enticed to carry the right fairway bunker, but face a high score if slightly off line. The fairway landing areas is not the largest on the course, but gets a lot narrower very quickly. Club selection will be vital from the tee.
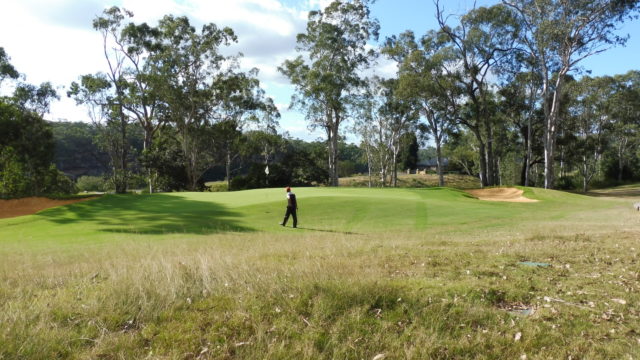
Mound to the right of the 18th green
You will likely face an uphill shot to a blind green. Everything seems to get smaller, the closer you get to the green. A small mound is found to the right of the putting surface, while bunkers protect the front and rear. A tough finishing hole, with accuracy the key. Could quite easily turn a match.
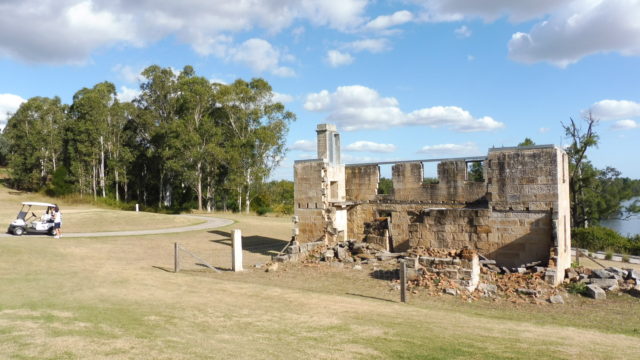
Merrymount House
Remnants of what is believed to be one of the original buildings, built in 1826, lies between the 7th green and 17th tee. Well worth a quick look and read about the origins.
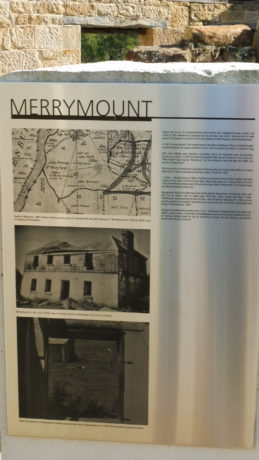
Information about Merrymount
In summary, I had mixed feelings when I left the course. In fact they were not pleasant when first walking off the course, with the green surfaces and penal secondary rough standing out. It has been a week since playing and these feelings have subsided a lot and I can be more subjective, especially after looking at some of the run off areas leading to the secondary areas. In some places they were a lot more forgiving than I gave credit for, but there still remains some problems which need to be addressed on the course. We had a decent variety in player levels, with all losing balls in the long stuff at times, so it was interesting to see this occurring in areas not expected.
Looking at the course makeup:
- Hole Directions – There was a decent variety of hole direction, allowing for conditions to have wide ranging effects during play overall. There was a run of three holes which were in a predominantly southerly direction, giving similar conditions.
- Hole Lengths – Par three holes had similar distances, all in the short-mid length. Par four holes ranged from short to long with the majority being either short or mid length. Par 5 holes all had a medium length, varying only by 4 meters from shortest to longest
- Hole Layout – There was a good mixture in how the holes played, although a clear majority tended to favour turns to the right, where two shots or more were required to reach the green. Three consecutive holes had turns to the right, although with varying angles
Overall the strategic elements were very good. Most holes asked a question of the player, giving the option to take on some form of risk for a beneficial reward. This not only occurred on the tee but also approach shots, although it was more evident with the first shot. This not only applied to the shorter holes, but also the longer ones.
The green complexes were designed quite nicely, featuring varying degrees of slopes and undulation. A majority of greens had shorter grass in the surrounds, allowing for a variety of shots. Bunkers were placed to catch those attacking pins, but allowed for a safer route to be taken when necessary. The main disappointing feature was some of the putting surface conditions, on two holes bare patches were evident with exposed earth. The speeds were also quite slow, but this maybe due to them being a lot softer than expected, or a trim being necessary (we did play on the long weekend after all).
This truly did have the feel of a Bob Harrison course, whose courses I have enjoyed playing. So the big question is whether I would return? Yes but not in a hurry. Due more to distance rather than anything else. Even if I still lived in Sydney, travelling all the way out to Cattai is a decent journey. This is a shame as the course is in my opinion fairly good and very comparable to the other Top 100 courses in the outer west of Sydney. For those travelling from outside of Sydney, then the potential to stay and play at both courses, would be very appealing, making the trip a good journey.
How to play at Riverside Oaks Golf Resort Bungool course:
1. This is a publicly accessible course. For a tee time ring the pro shop or book online

